What is Maven ?
Maven is a build tool for building and managing java projects. It is created by Apache.
Maven executes goals as a part of project build process. These goals perform various tasks as required by the project.
Maven builds a project using its Project Object Model(POM), which is an xml file that contains below information
- Project configuration information such as source and output directories, version etc.
- Project name, artifact id, group id.
- Project dependencies.
Pre-requisites
To install Maven on windows 11, following must be present
- Java installed and JAVA_HOME environment variable set to point to installed location or path to java binary is present in system path variable.
Java version should be 8 and above for Maven 3.9.6 - An Internet connection to download Maven binaries.
How to install Maven on Windows 11
1. Download Maven zip
Go to download page of Maven website and click on zip link as shown below

To install earlier versions, scroll below to Other Releases section
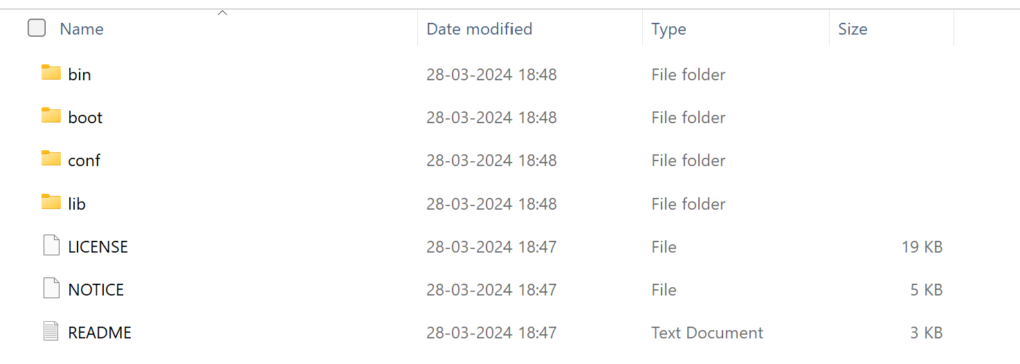
2. Extract the downloaded zip to any location on your system.
Navigate to the extracted location and you will see below contents

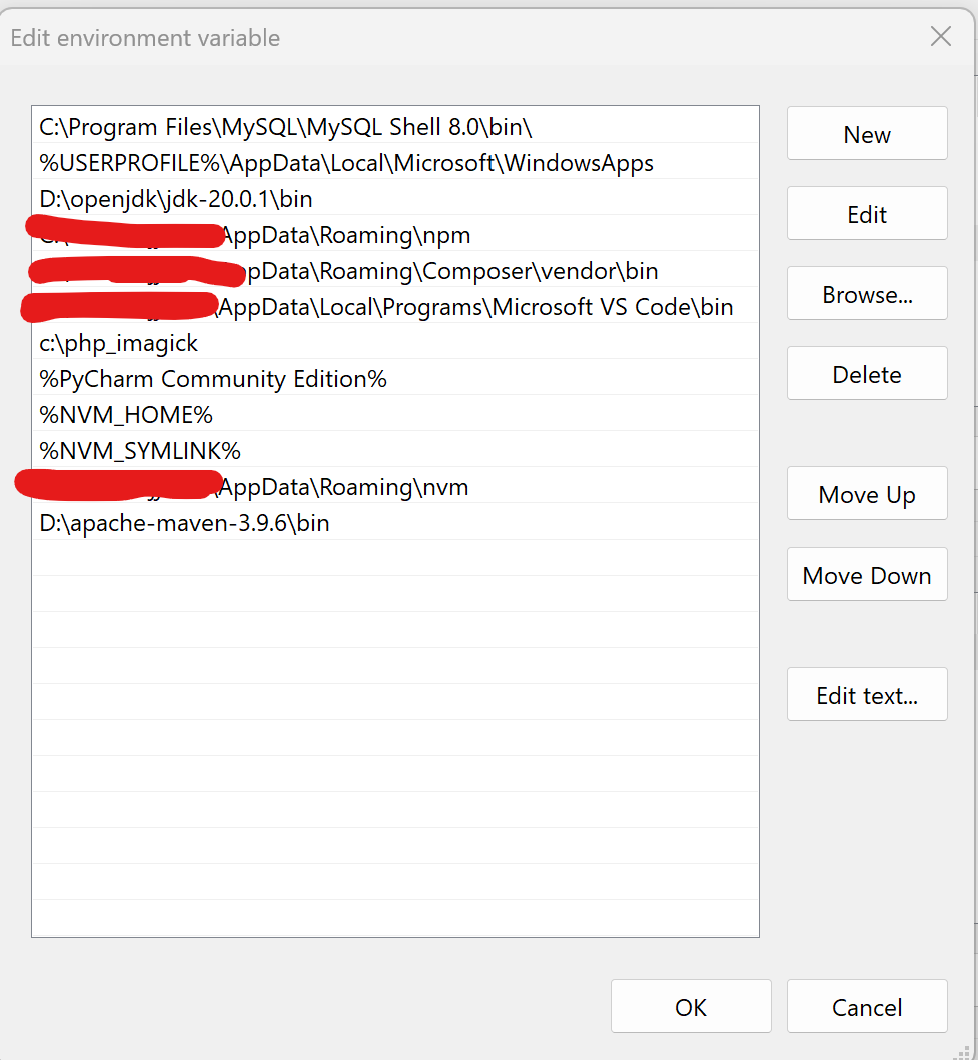
3. Next, add the path of bin folder of extracted zip to the system path variable

Press OK.
How to check if maven is installed on windows
Open command prompt on windows 11 by pressing windows icon and searching for cmd.
Once the command prompt opens, type below command and press enter
mvn -v
You should see an output like
Apache Maven 3.9.6 (bc0240f3c744dd6b6ec2920b3cd08dcc295161ae)
Maven home: D:\apache-maven-3.9.6
Java version: 20.0.1, vendor: Oracle Corporation, runtime: D:\openjdk\jdk-20.0.1
Default locale: en_IN, platform encoding: UTF-8
OS name: “windows 11”, version: “10.0”, arch: “amd64”, family: “windows”
Maven is successfully installed on the system.
Adding MAVEN_HOME
Though we have successfully installed maven on windows 11, but some applications might require MAVEN_HOME variable set to maven install location.
To add this variable on windows 11, press windows logo and search for “environment”.
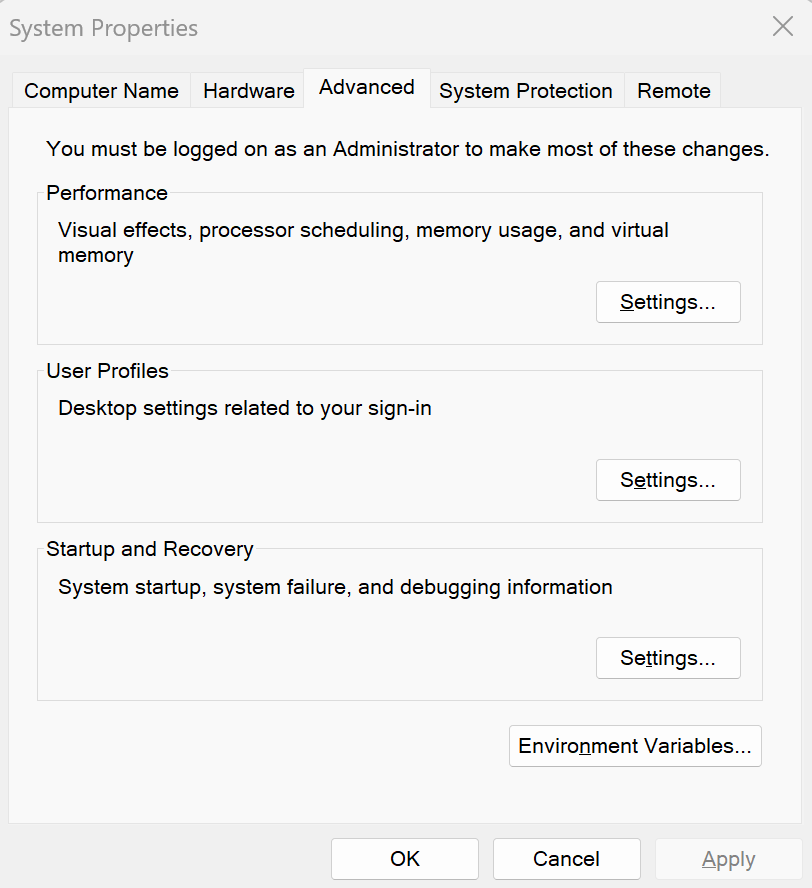
This will show “Edit the system environment variables” option. Click it and you will get a window as below

Click Environment Variables button. On the window that appears as shown below, click New button under System variables section and add a variable with name MAVEN_HOME and set its value till bin folder of maven installation.
That’s it, you have successfully set MAVEN_HOME environment variable on windows 11.
Conclusion
In this article, we saw how to download and install maven on windows 11, verify if it is successfully installed on the system.
Next, we also learnt how to set MAVEN_HOME environment variable on windows 11.