In order to develop a react application, you need to prepare a development environment on the system. This guide walks you through the process and if you follow it, then by the end of this post, you will be all set to start creating react applications right on your machine.
Softwares required
As a part of React development environment, you need to have some softwares/tools installed on your system. They are
- node.js : Provides runtime environment for javascript applications. It starts a light weight server on your system for serving HTTP requests. Another important use of node.js is the npm tool which it provides.
- npm: Stands for Node Package Manager is a package manager for javascript applications. It makes it easy to install packages required by an application via its command line client. A package can be considered as a library. If you are from java background, consider a package as a jar. If you know a package name, then you can download it using command npm install package-name
npm is automatically installed when you install node.js. - A code editor: Preferably an IDE for writing react code, provides features such as code intellisense, debugging etc. We will be using Visual Studio Code as the IDE.
Installing node.js
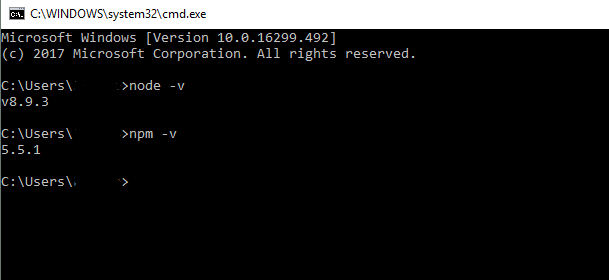
For installing node.js, go to its downloads page, download the latest stable release as per your operating system and install it. If you install node.js, npm is also installed alongwith it. Once installed, open command prompt and type
- node -v : If node is successfully installed, it will print the version of node installed.
- npm -v : If npm is successfully installed, it will print the version of npm installed.
Installing create-react-app
Once npm is installed, you can install any package using it directly from your machine, no need to go anywhere. Now, in order to create a react application you need react libraries such as react and react-dom. You also need a Babel compiler for converting JFX code(covered later) into javascript. React application bundler webpack is also required.
After installing react libraries you will need to create your own application which will use many files that should be arranged in a specific architecture. Creating this structure manually would be a painful task.
create-react-app is a package which manages all this. It downloads and installs react libraries. It also creates the skeleton required for developing a react application. We can install this package using npm using its install command
npm install -g create-react-app
Here, npm install is the command which tells npm to install a package, package name is given at the end. -g flag instructs npm to install create-react-app globally. This means that once installed globally, you can access this package from any location on your system. If not installed globally, then create-react-app will work only at the location where you ran the above command.
where flag -i stands for install and flag -g stands for global installation.

Installation of create-react-app takes some time, so please be patient.
Note that if you do not use create-react-app package then you will have to install react libraries, Babel, webpack manually. Also, while creating react application, you need to create all html and js files manually. Thus, it is suggested to use create-react-app package.
Getting code editor for React
Microsoft Visual Studio code is the most preferred IDE for writing react applications. It is open source and free, contains features such as autocomplete intellisense, code debugging, integration with repositories etc. It can be downloaded from here.
Creating First React Application
Once all the above tools are installed, you are ready to move on to develop react applications. Following below steps will give you a running react application.
- Open command prompt and navigate to the directory/folder where you want to place your react application.
- At the terminal type command create-react-app [Application Name] and hit enter. Example,
ceate-react-app react-application. It will create all necessary folders and files.
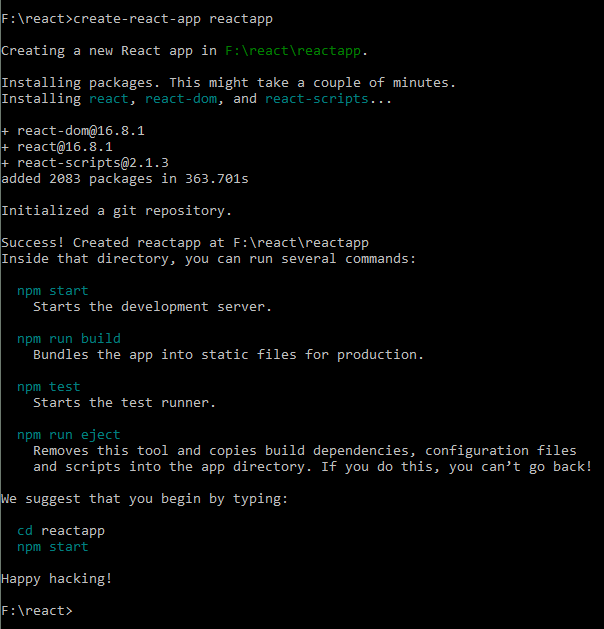
- Open the folder where you installed the above react application and you will see a folder structure as below
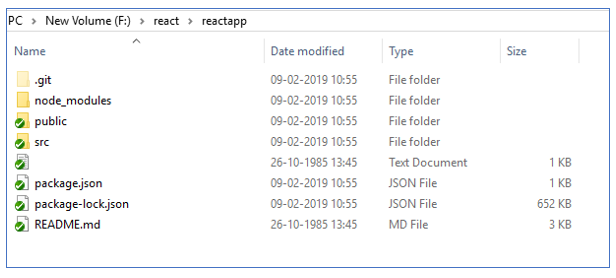
Congratulations!!! you have successfully created your first React application.
Running React Application in Browser
Since react applications are web applications, they can be run only in browser. In order to launch your application, open command prompt and navigate to the folder where react application was created. In our example, it is F:/react/reactapp and run the command
npm start
This will show the following logs on the prompt.

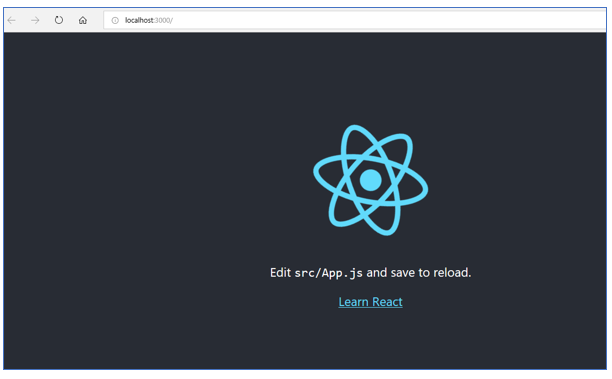
It will also start a server listening at port 3000(default react port) on your system and will automatically launch a browser as shown below.
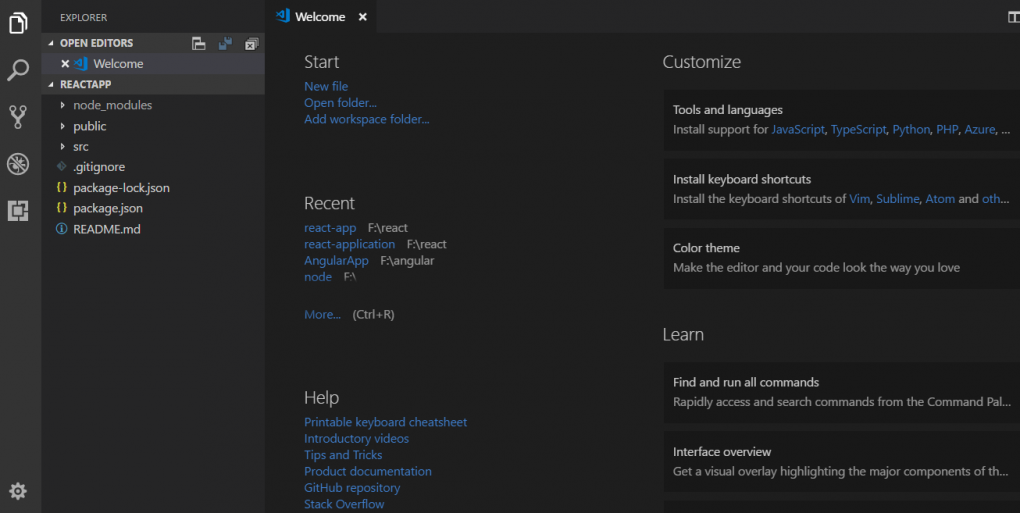
Opening react application in IDE
Till this point there was no use of the editor which was installed previously. But now when you will code your own application, you will need the IDE. How will you open and set up your project in the editor. There are 2 ways.
- Open the IDE as you open any other installed software, that is, by clicking the shortcut icon or by navigating to the installed location and clicking the executable file(code.exe, in this case).
- Open command prompt. Go to the location where you created the project(F:/react/reactapp, in our example) and type
code .(code space dot) and hit enter.
IDE will automatically open up along with your project loaded into it. Refer image below.