For developing applications using Vue.js, we need to set up a development environment on our system. This includes installing a code editor, creating a project and the most important one, installing configuring Vue.js library.
This section of Vue.js tutorial will cover all of these in detail and a simple language.
[the_ad id=”89″]
Installing code editor
A code editor is a software that you will use to write application files. It is responsible for managing the entire project.
There are many editors that you can use to learn Vue.js and create applications using it but the most preferred one is Visual Studio Code or simply VS Code by Microsoft.
In order to download it, navigate to the site https://code.visualstudio.com/download and download the software as per your operating system. Once downloaded, click the file downloaded and follow the on-screen instructions.
Installing Vue.js
There are two ways to add Vue.js to your application.
1. Adding Vue.js file manually
Choose an appropriate location on your system and create a folder that will contain Vue.js library and your own application files. On my system, the folder is F:\vue.
Download Vue.js script file from its download site and include it in the main file of your application in script tag just like javascript is used. This is a simpler approach and is recommended for learning purpose if you are just starting to learn.
Head over to Vue.js website where you will see an installation link as shown below.
Click the above link where you will see options to download Vue.js file as below.
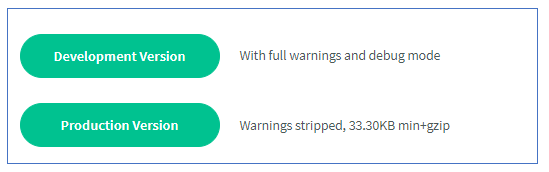
Click on Development Version and it will download a file named vue.js. Place this file in the project folder F:\vue.
Now create an html file, suppose we name it as index.html. Include Vue.js file in it by placing the following line at the top.


<script src="vue.js"></script>
assuming that both the files are in the same folder.
[the_ad id=”94″]
2. Using CDN
CDN stands for Content Delivery Network and is used for serving resources. A CDN simply provides a URL for a resource, which, in this case is Vue.js file.
Include the URL in the HTML file of the application and you can then use Vue.js. This method is similar to the first one except that in this case, the js file will be fetched from a remote server while in the first approach, the file would be present on your system locally.
CDN for Vue.js file is https://cdn.jsdelivr.net/npm/vue
As before, create an index.html file in the project folder and include the following tag at its top.
<script src="https://cdn.jsdelivr.net/npm/vue"></script>
3. Using Vue.js Command Line
This option should be chosen when developing a real world application as it will create a complete project structure with many folders and files.
If you are just starting out and are not familiar with other frameworks such as angular or react, then use the first approach. Once you become comfortable with Vue, then set up a proper project using Vue CLI(Command Line Interface).
For installing Vue.js with this approach, you need to have Node.js installed on your system. Node.js provides a runtime environment for javascript applications in the form of a server.
Installing Node.js
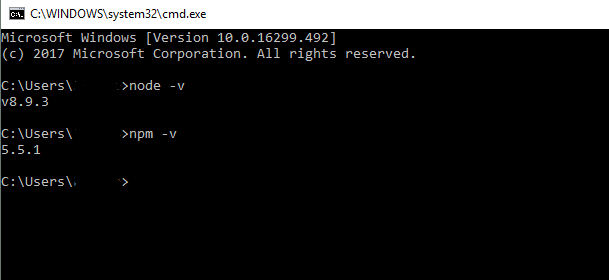
For installing Node.js, go to its downloads page, download the latest stable release as per your operating system and install it. If you install Node.js, npm is also installed along with it. Once installed, open command prompt and type
- node -v : If node is successfully installed, it will print the version of node installed.
- npm -v : If npm is successfully installed, it will print the version of npm installed.
Node.js automatically installs npm which stands for Node Package Manager is a package manager for javascript applications. It makes it easy to install packages required by an application via its command line client.
A package can be considered as a library. If you are from java background, consider a package as a jar. If you know a package name, then you can download it using command npm install package-name
[the_ad id=”95″]
Once Node.js is installed, you can easily install Vue.js CLI using npm using below command line

npm install –global vue-cli
With Vue CLI, you can easily and automatically create Vue project templates having all the required files pre-configured. Without CLI, you will have to create everything manually which is a tedious task as you will see and understand later.
Note that --global flag installs it globally so that you can access Vue CLI from anywhere on your system. Without this flag, CLI will be accessible from within the current folder only.
After CLI is installed run the following command to create your first Vue.js project.
vue init webpack-simple vueapp
where vueapp is the name of the folder in which the project will be created. It will ask you the name of the project, its description, author etc., with default values.
You can change them or hit enter to keep the defaults as shown in the image below.
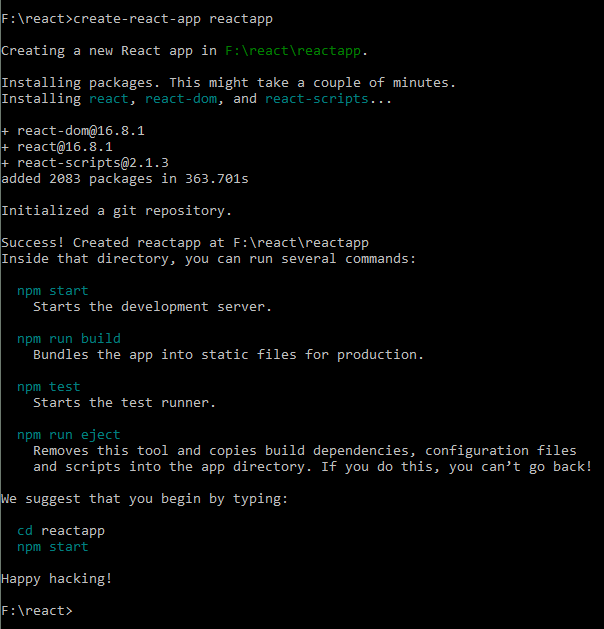
F:\>vue init webpack-simple vueapp
? Project name vueapp
? Project description A Vue.js project
? Author Codippa
? License MIT
? Use sass? Yes
vue-cli · Generated “vueapp”.
To get started:
cd vueapp
npm install
npm run dev
After the project creation is complete, move inside the project folder using cd vueapp and run command
npm install
as shown in the image above.
This will install all vue related libraries in the designated folder.
> node scripts/install.js
….
….
added 847 packages from 625 contributors and audited 10418 packages in 96.218s
Finally execute command
npm run dev
F:\vueapp>npm run dev
> vueapp@1.0.0 dev F:\vueapp
> cross-env NODE_ENV=development webpack-dev-server –open –hot
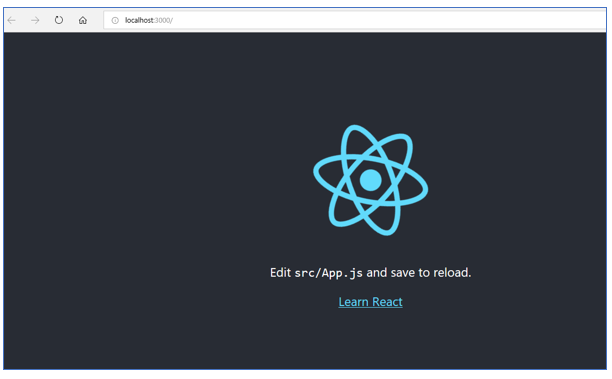
Project is running at http://localhost:8080/
[the_ad id=”86″]
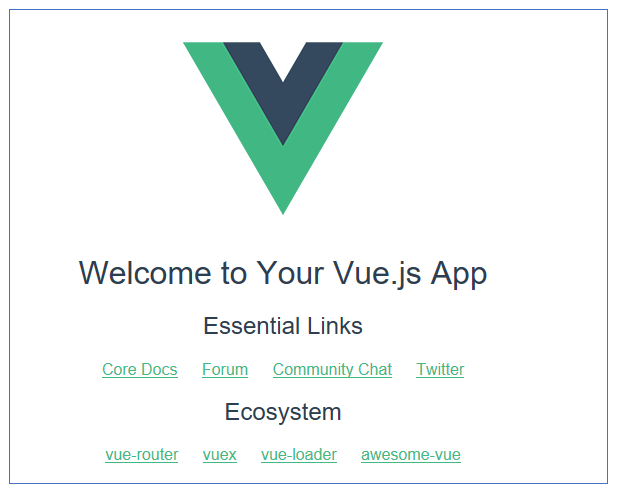
This will start a server listening at port 8080 and will also launch the default browser with the page loaded as below.
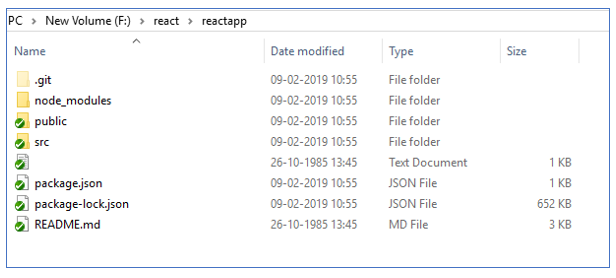
Folder contents of the project generated by vue CLI will be.
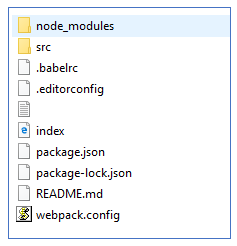
All of the application code should be written inside the src folder. As evident from the folder contents, this is a very complex structure as compared to the first approach.
An advantage with this approach is that if you make any changes and save, it will automatically refresh the browser page while with first and second approaches you need to refresh manually to confirm the changes.
[the_ad id=”267″]
If you see the same page on the browser and same folder contents, then you have successfully configured Vue.js in your application with this method.
Opening project in code editor
Final step is to open the code editor(VS Code) that we configured in the first step with the project contents loaded. Follow below steps to open VS Code with the project contents loaded into it.


- Open command prompt on windows or terminal on Mac and linux systems
- Navigate to the location where you created the project(either manually or using Vue CLI)
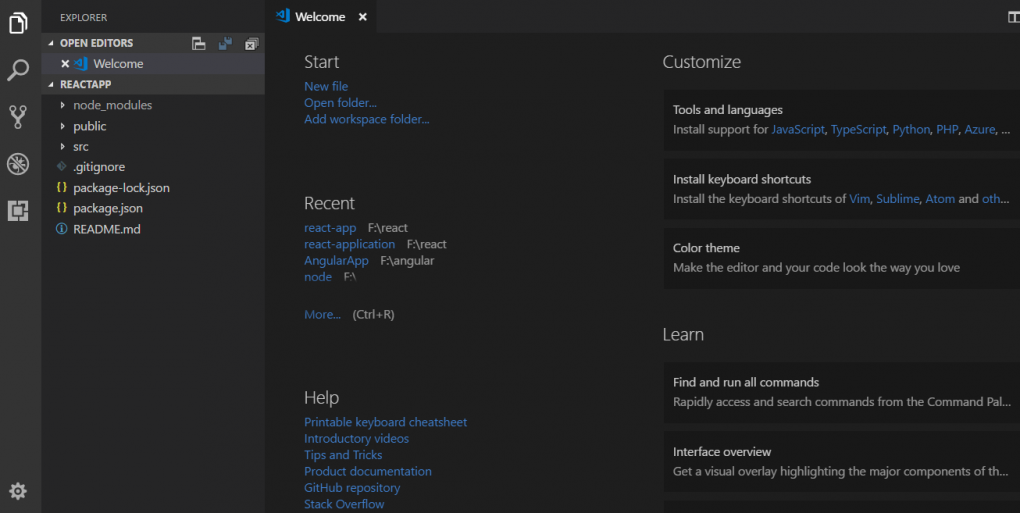
- Type code . (code space dot) and hit enter.
This will launch VS Code with the project contents loaded as shown below. Images shown below are for each of the methods described above in the same order.

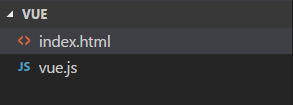
Vue,js downloaded and added manually

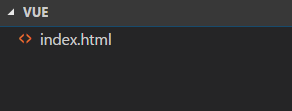
Vue.js loaded from CDN

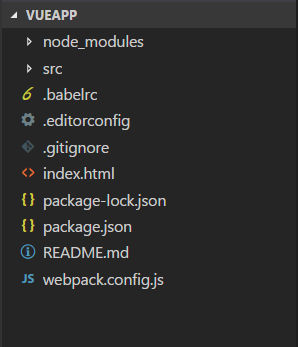
Generated by vue CLI
[the_ad id=”88″]
Congratulations!!! you have successfully set up Vue.js in your application and you are now ready to start learnng Vue.js with this tutorial.